
Plan a holiday craft night with 5 simple DIY decorations that beginners can finish in one evening using basic supplies. Every project follows a clear color palette, approximate size, and display plan, so the final pieces feel connected.
Good group crafts remove guesswork. Precut the main materials, set out one finished sample, and let guests focus on making something they’ll enjoy displaying.
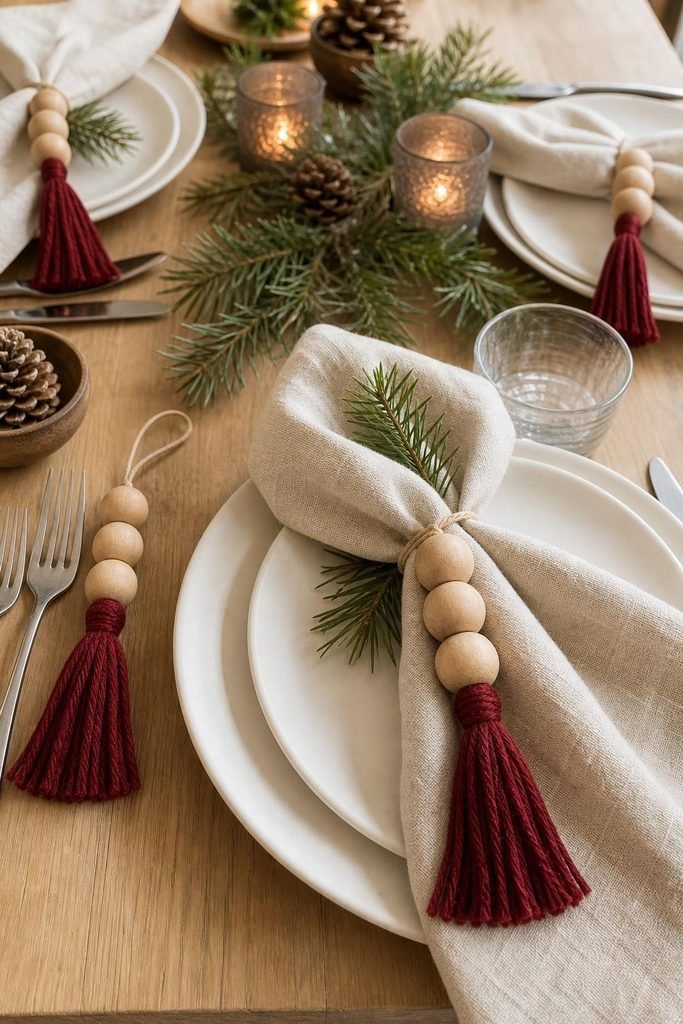
1. Beaded Tassel Napkin Charms
This project suits guests who want a quick win and a useful table accent. Skip it if your group includes young children who may put small beads in their mouths.
Cut cord long enough to form a 5-inch loop. Thread three wooden beads and one cranberry-red tassel onto each piece, then tie the ends with a firm double knot.
- Choose natural wood beads for warmth.
- Use matching red tassels for a coordinated table.
- Make one charm for every place setting.
The 5-inch loop should slide around a folded napkin without squeezing the fabric. Set the charms beside pine sprigs, cream plates, or plain linen napkins for a polished Christmas table.
2. Layered Felt Tabletop Trees
Flat holiday tables often need height and soft texture. These small felt trees add both without blocking conversation across the table.
Cut Six Felt Pieces
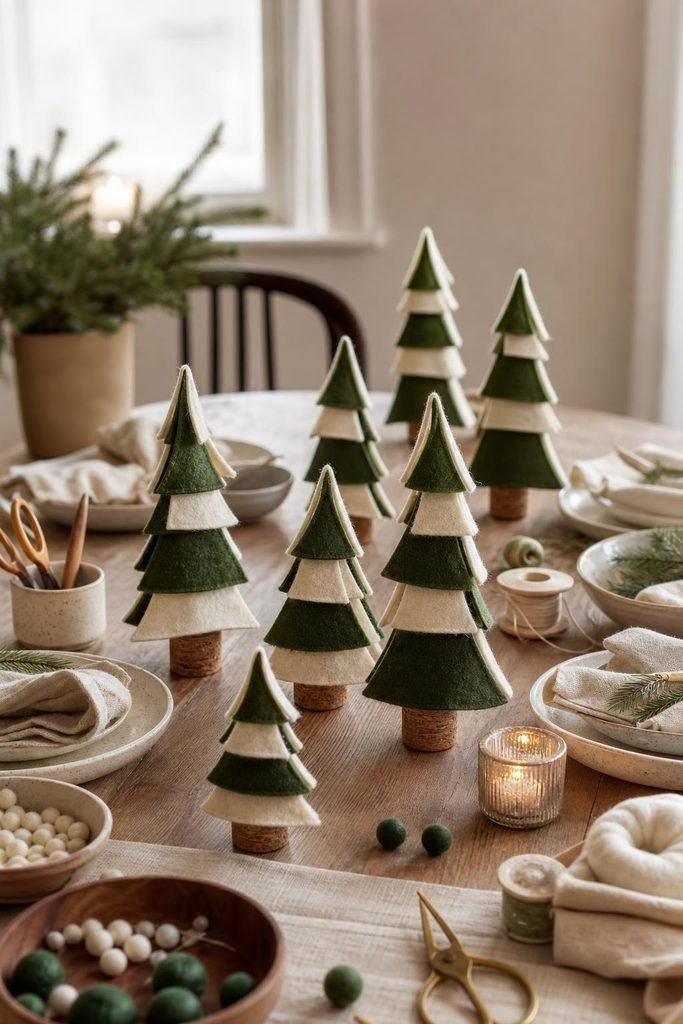
Give each guest six precut triangles in pine green and cream. Three layered triangles create one 8-inch tree, so every guest can make two decorations.
Stack three triangles flat, shifting each one slightly so both colors remain visible, and glue the layers together. Cut a narrow slot in the top of a small cork base, add craft glue inside it, and insert the bottom point of the tree so the triangles stand upright.
Arrange an Odd-Number Group
Place the finished trees in groups of three or five along the table. An odd-number arrangement looks relaxed and gives each tree enough room to show its layered edges.
These felt decorations work well beside serving dishes because they feel festive without taking much space. Keep taller groups near the center and shorter pairs near the ends.
3. Folded Stars on Twine
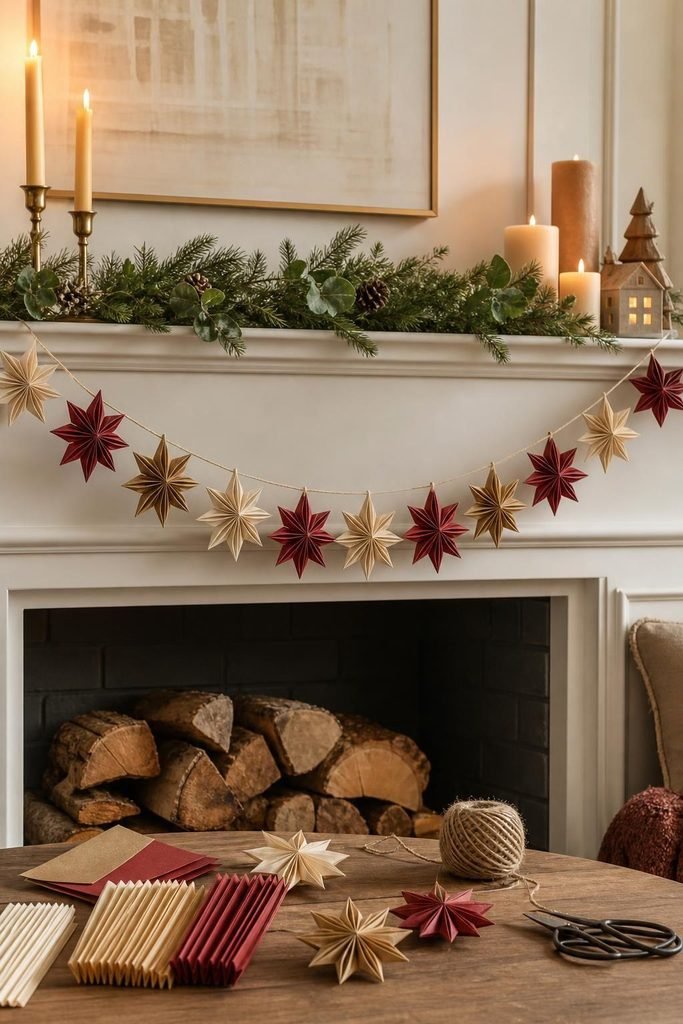
Twelve 4-inch paper squares create a garland long enough to add color across a mantel, window, or buffet. Choose cream, cranberry, and muted gold paper for a warm holiday mix.
Fold each square back and forth like an accordion, then pinch it firmly at the middle and tie that point with a short piece of thread. Trim both folded ends at an angle, fan open each half, and glue its adjoining edges together to hold the pointed star shape.
Avoid heavy cardstock because it resists sharp creases and can spring open. Medium-weight craft paper folds faster, which makes it a better choice for guests with mixed skill levels.
Attach the stars to twine with about 6 inches between them. This even star spacing keeps the garland from looking crowded and allows every color to stand out.
4. Ribbon-Wrapped Hoop Wreath
Wrap the ribbon tightly from the start. Loose sections can slide around the hoop and expose bare wood after you hang the wreath.
Build a Clean Wreath Base
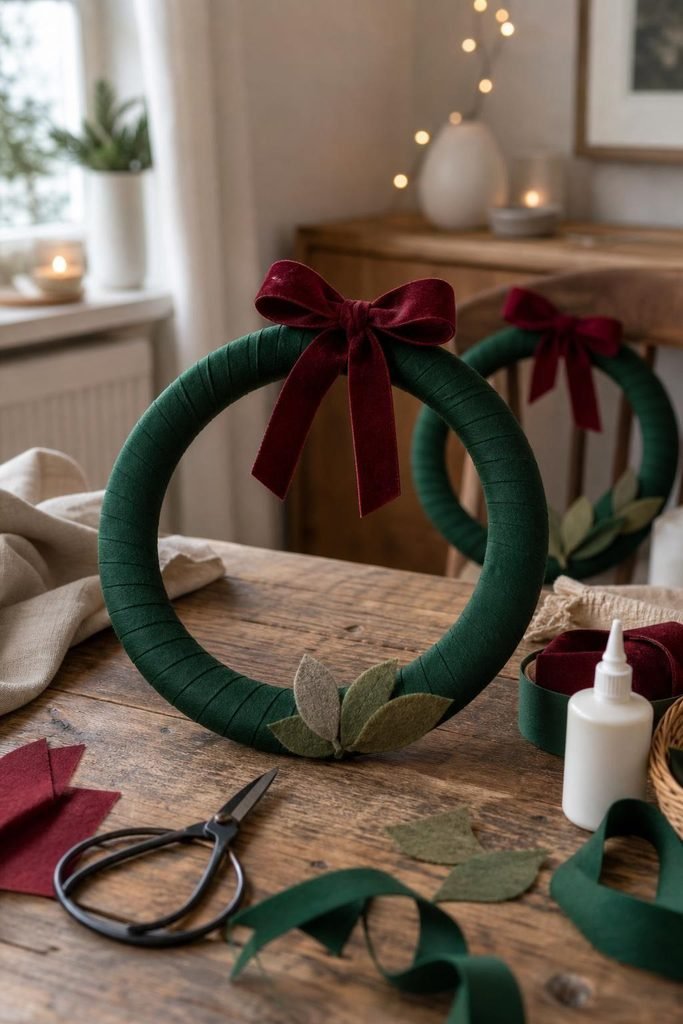
Use a 10-inch embroidery hoop and two yards of pine-green ribbon. Secure one end at the back, overlap each wrap slightly, and keep the ribbon flat as you work.
- Cover the full hoop with pine-green ribbon.
- Cut three simple felt leaves.
- Glue the leaves near the lower edge.
- Finish with one cranberry-red bow.
The wrapped embroidery hoop feels lighter than a full branch wreath, so it works well on interior doors and chair backs. Hang several matching hoops at eye level to carry the same colors around the room.
5. Glowing Paper Village Display
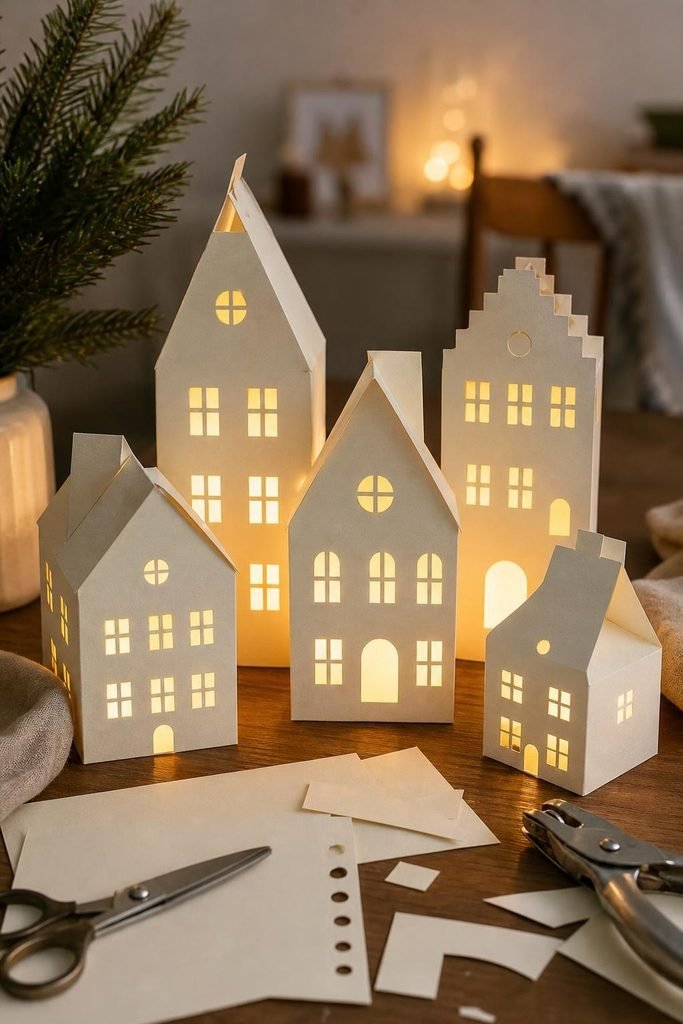
A common mistake is cutting tiny, detailed windows that take too long and barely show the light. Use half-inch rectangular openings instead, which create clear patterns without an intricate craft knife.
Cut five houses from cream cardstock, ranging from 6 to 9 inches tall. Vary the rooflines and widths so the village feels collected rather than copied.
Cut Windows Without a Knife
Fold the cardstock lightly where each house wall will meet. Use a hole punch to start the window openings, then finish each half-inch rectangle with scissors.
Leave enough card around each opening to keep the walls firm. Fold the side edges back to create simple supports, or attach a small folded paper tab behind each house.
Place one flameless tea light behind every building. Keep the light hidden below the windows so the warm glow appears through the cutouts instead of shining directly at the viewer.
Start With One Palette
A shared palette makes separate projects feel like one holiday collection. Cranberry, pine green, cream, and muted gold work across paper, felt, ribbon, and wood without forcing every decoration to match.
Start today by cutting twelve 4-inch paper squares in those colors. Stack them with twine and glue, and your first craft-night station will be ready.